The short answer
A PLC power supply has failed when its status LED stays off with the right line voltage at its input and nothing on its output pulling it down. On ControlLogix (one green LED), Rockwell's check is to confirm the line voltage – live work for a qualified person – then run the supply out of the chassis: if the LED comes on, the chassis load is the problem; if not, the supply is. On an SLC 500, Rockwell's checks include the 120/240 V jumper, the fuse and the chassis load, and on a Siemens PS 307 a flashing 24 V DC LED means overload, an unlit one a shorted output or too little input voltage.
This covers Allen-Bradley ControlLogix (1756-PA72, -PA75, -PB72, -PB75) and SLC 500 (1746-P1, -P2, -P4) chassis supplies and the Siemens S7-300 PS 307 load supply.
Key takeaways
- Have a qualified person measure the input against the manual's range before you blame the supply.
- An unlit power LED doesn't mean the terminals are dead: Rockwell warns the indicator can be off with incoming power present.
- Rockwell notes that replacing a blown fuse rarely brings a failed supply back.
Symptoms of a power problem
- Everything in the rack is dark – on an SLC 500, all processor LEDs off is Rockwell's sign of inadequate system power: no line power, a blown fuse, an overload or a defective supply.
- The system drops out during dips: a supply rides through only a short loss (its hold-up time), then signals the processor to stop. On multi-chassis SLC 500 systems, outages of 20 to 300 ms can cause a remote power fail error.
- The CPU's DC5V LED is out on an S7-300: that green LED shows the 5 V supply for the CPU and the S7-300 bus.
ControlLogix 1756 supplies
| Catalog no. | Input (Rockwell's range) | Backplane output |
|---|---|---|
1756-PA72 | 85–265 V AC, 47–63 Hz | 10 A at 5.1 V DC; 75 W total |
1756-PA75 | 85–265 V AC, 47–63 Hz | 13 A at 5.1 V DC; 75 W total |
1756-PB72 | 18–32 V DC | 10 A at 5.1 V DC; 75 W total |
1756-PB75 | 18–32 V DC | 13 A at 5.1 V DC; 75 W total |
All four also supply 2.8 A at 24 V, 4 A at 3.3 V and 1.5 A at 1.2 V DC. The AC inputs sense 120 or 240 V by themselves: Rockwell says not to fit a voltage jumper, and to protect each ungrounded supply conductor with a 15 A time-delay fuse. Chassis series matters: Rockwell pairs the 1756-PA72 and -PB72 (series C) with series A, B and C chassis, but the 75-series supplies with series B and C only.
Rockwell's check when the green LED goes out:
- Have a qualified person measure the line voltage at the supply and compare it with the range above.
- If the voltage is right and the LED stays off, switch the power off.
- Loosen the two screws and slide the supply out far enough to disconnect its rear connector from the backplane.
- Switch the power back on with the supply out of the chassis. Live work at line voltage: a qualified person only, under NFPA 70E-style energized-work rules, with everyone clear of the machine and someone ready at the E-stop.
- LED on: compare the chassis' backplane load with the supply's rating, then power off, refit and power on. LED still off: the supply itself has failed; Rockwell's step is to contact your Allen-Bradley distributor.
SLC 500 1746 supplies
| Catalog no. | Line voltage (by jumper) | Backplane output | Fuse |
|---|---|---|---|
1746-P1 | 85–132 or 170–265 V AC | 2 A at 5 V, 0.46 A at 24 V | Replaceable, 1746-F1 |
1746-P2 | 85–132 or 170–265 V AC | 5 A at 5 V, 0.96 A at 24 V | Replaceable, 1746-F2 |
1746-P4 | 85–132 or 170–250 V AC | 10 A at 5 V, 2.88 A at 24 V | Soldered in place |
- Jumper: on the P1, P2 and P4 the input jumper must match the line voltage, and it is set before power is applied – its pins are live once the supply is on.
- Fuse: check the incoming wiring and its fuse, replace the supply fuse with the specified type, and if it blows again, replace the supply.
- Overload: Rockwell's step is to remove line power, take several output modules out, wait five minutes and power up again. If it recurs, recalculate the chassis' power budget: a slightly overloaded supply can fail intermittently as load and temperature change.
- 24 V user output (P1, P2, P4): on some versions an overload on it shuts down the whole supply and faults the CPU, and the program must be reloaded; on others only the 24 V output switches off.
- Surges: Rockwell recommends an isolation transformer where the supply shares a line with motors, starters, solenoids or relays.
Siemens S7-300 PS 307
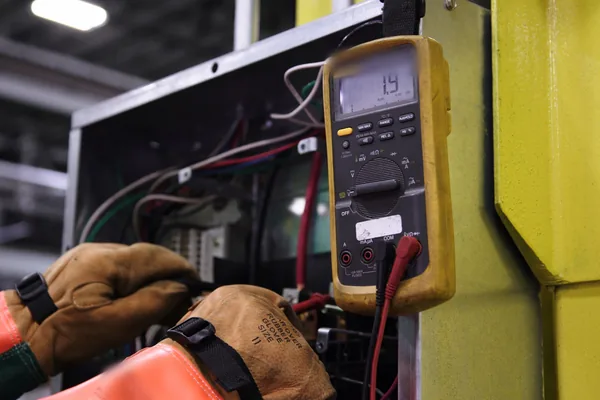
The PS 307 turns 120/230 V AC (47–63 Hz) into 24 V DC for the CPU and the load circuits; Siemens' current manual covers the 2 A (6ES7307-1BA01-0AA0), 5 A (6ES7307-1EA01-0AA0) and 10 A (6ES7307-1KA02-0AA0) versions, which switch between 120 and 230 V automatically. Not every PS 307 does: the SIPLUS 5 A (6AG1307-1EA80-2AA0) in the same manual has a mains selector switch and needs a 10 A breaker, and older units such as the 6ES7307-1BA00 and -1EA00 aren't in it. Before power-up, check for a mains selector set to match the line (overvoltage, below, can destroy the module) and follow your unit's own manual. The output should be 24 V within ±3 %. On the front are a green 24 V DC LED and a 24 V DC on/off switch – check the switch first.
- LED flashing: overload. The output dips and recovers by itself; a lasting overload below the dynamic limit lowers the voltage and shortens the module's life.
- LED off: a short circuit on the output (0 V, recovering by itself once the short is gone) or input voltage too low (the module shuts down and restarts when it returns).
- Overvoltage on the input can destroy the module. Siemens recommends a type C miniature circuit breaker in the supply line: 3 A for the 2 A version, 6 A for the 5 A and 10 A for the 10 A, at 230 V.
When to replace it
- ControlLogix: the LED stays off with the supply out of the chassis and the line voltage in range.
- SLC 500: the new fuse blows again, or the supply also fails in another chassis – if it works there, suspect the original chassis.
- PS 307: the LED stays off with the switch on, the input in range and no short on the output.
Match the catalog or order number and, on ControlLogix, the chassis series; on an SLC 500, set the jumper before the first power-up. Moving to new hardware instead? Our engineering team does PLC programming and changes.
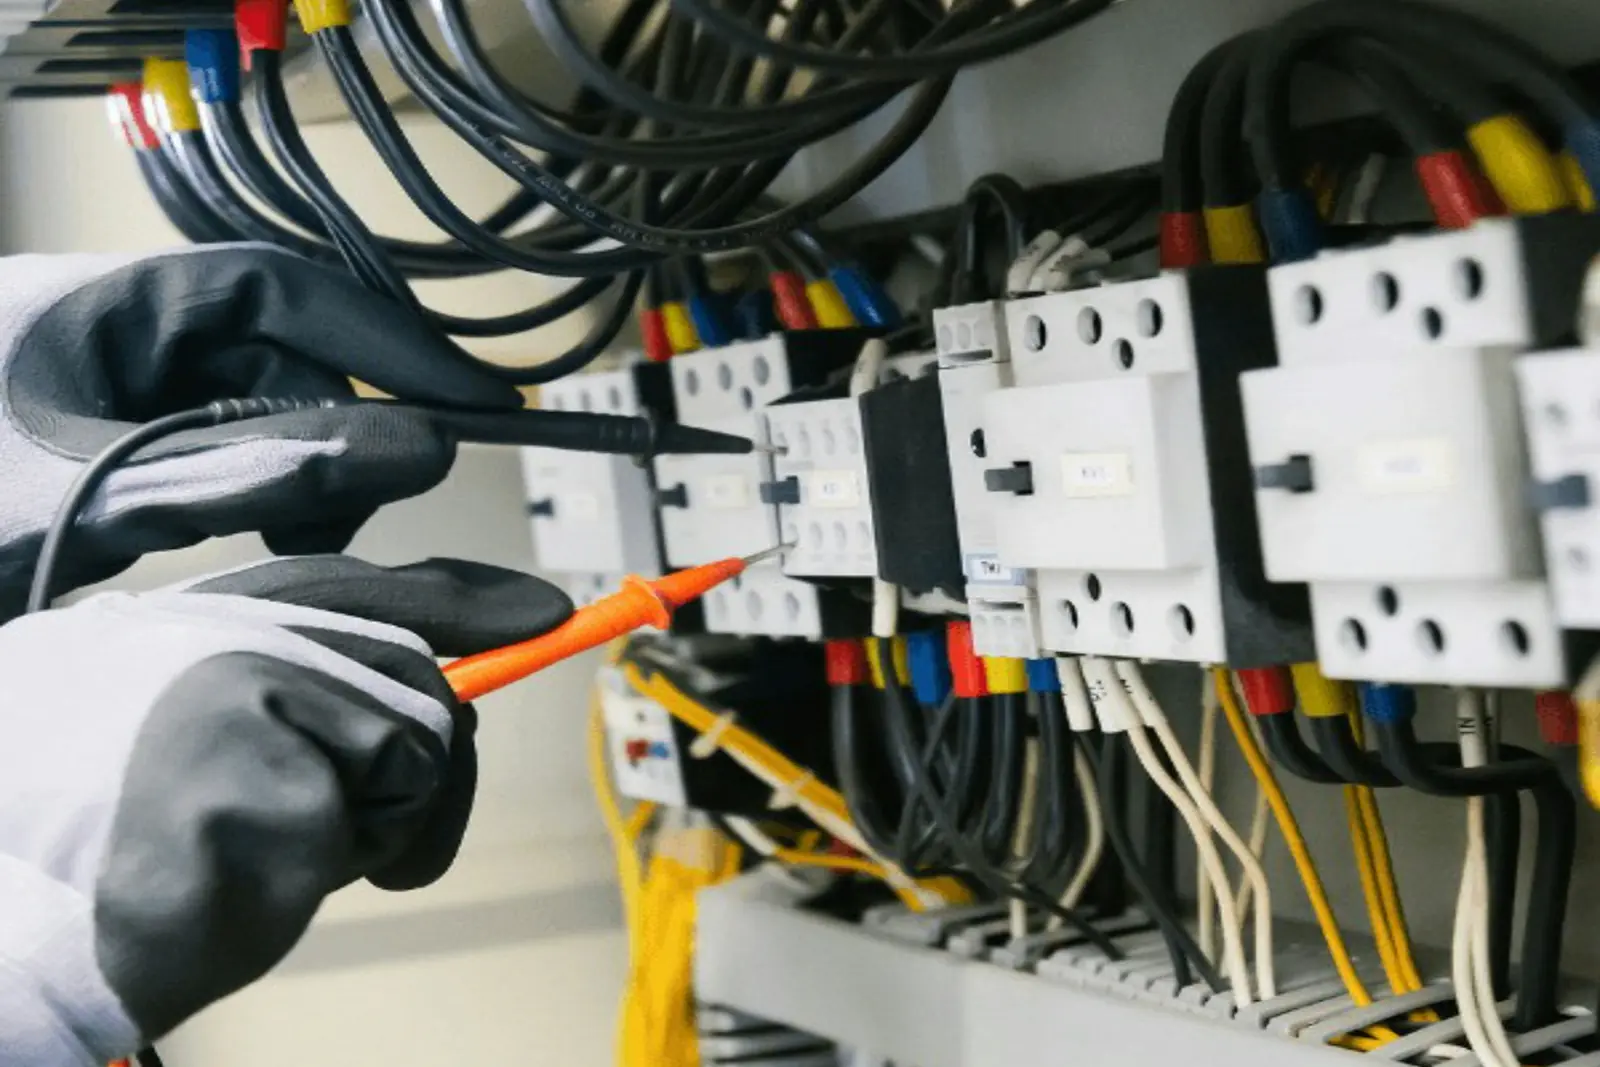
Safety first: only qualified personnel should work in the cabinet, and any measurement on energized equipment follows your site's live-work and arc-flash rules. A power supply has line voltage on its terminals: switch off its feed under lockout/tagout; before anyone touches the wiring, jumper or fuse, a qualified person verifies zero voltage with a properly rated meter, checking the meter on a known source before and after. Never force outputs, jumper interlocks or bypass a safety circuit to keep a machine running.
Parts that commonly fail
Power supplies and the chassis they plug into are the hardware behind these failures. The part numbers we have the most of in stock right now:
ControlLogix power supplies
ControlLogix chassis
SLC 500 power supplies
SLC 500 chassis
S7-300 power supplies (PS 307)
Stock changes every day. Every listing is photographed, so check the catalog number, series or product version and firmware on the label photo before you buy.
Not listed, or need several? Send us the part number and we'll check our shelves and our sourcing network and quote it in writing.
Sources
Every code, LED state and menu path on this page was checked against Rockwell Automation's and Siemens' own documents, listed below, and is described here in our own words. Manuals change between editions and firmware revisions: for your exact catalog or order number, check the current edition.
- Rockwell Automation, ControlLogix Power Supply Installation Instructions, publication 1756-IN619G-EN-P, July 2023.
- Rockwell Automation, 1756 ControlLogix Power Supplies Specifications Technical Data, publication 1756-TD005J-EN-P, November 2022.
- Rockwell Automation, SLC 500 Power Supplies Installation Instructions, publication 1746-IN004B-EN-P, March 2008.
- Rockwell Automation, SLC 500 Modular Hardware Style User Manual, publication 1747-UM011G-EN-P, June 2008.
- Siemens, SIMATIC S7-300 Module data, equipment manual A5E00105505-AK, 05/2022, entry 8859629.
- Siemens, SIMATIC S7-300 CPU 31xC and CPU 31x: Technical specifications, manual A5E00105475-12, 03/2011, entry 12996906.
Frequently asked questions
What input voltage does a 1756-PA72 accept?
Rockwell specifies 85 to 265 V AC at 47 to 63 Hz for the 1756-PA72 and 1756-PA75 (120/240 V AC nominal). The input is auto-sensing: no voltage jumper. The DC versions, 1756-PB72 and 1756-PB75, take 18 to 32 V DC.
Can I put a 1756-PA75 in any ControlLogix chassis?
No. Rockwell's compatibility table pairs the 75-series supplies, such as the 1756-PA75, with series B and C chassis only; the 1756-PA72 and 1756-PB72 (series C) also fit series A. Check the chassis label before you order.
Why does the fuse in my 1746-P2 keep blowing?
Rockwell's steps: check the incoming power wiring and its fuse, replace the supply fuse, and if the new fuse blows again, replace the power supply. Check the 120/240 V jumper and the chassis load as well.
What does a flashing 24 V DC LED on a Siemens PS 307 mean?
The output is overloaded: the load draws more than the module's rating, so the voltage dips and recovers by itself; a lasting moderate overload shortens the module's life. An unlit LED instead means a shorted output or too little input voltage.